Bathroom Makeover - Without the Overhaul!

Thinking of updating but don't have the time or budget to gut it and start over?  There are so many solutions that will make your room feel fresh and updated that doesn't involve ripping out drywall.  This also means less dust, which is also a bonus. Take for example this boring, builder's beige of a bathroom (no offence to my favourite contractors, but you shouldn't be in charge of aesthetic decisions - that's just the way it is).   This bathroom screamed "basic model, no upgrades" of the previous homeowners, which didn't suit my vibrant and stylish clients.  

Original Basic Tub Surround

Original Basic Tub Surround

They had just been through two big renovations (see their beautiful kitchen here) and didn't want the headache of a big reno.  Plus, the floor and shower tile was still in great shape, it was just too beige for my client, so demolishing it would have been frivolous and wasteful.  My suggestion was to replace the bathtub tile only with a proper stone tub surround and panelling detail.  Another issue was the lack of storage - everything sat on the tub ledge which looked temporary and cluttered.   My solution was to add built-ins to one side that sat atop the new stone tub deck. Not only did it add much needed storage, but it warmed up the bathtub area. Throw in a little white subway tile and it's a whole new look!

New tub surround, panelling and built-in shelves

New tub surround, panelling and built-in shelves


Previously it was so empty and cold feeling - who wants to bathe in that environment?   Now it is cozy with loads of visual interest.   We added a new grey vanity and Voila! a whole new vibe.   And all without ripping out a single wall - or floor or shower tile!  If you need help with something like this, feel free to contact me for a consultation - I'd love to hear from you!

Happy Valentine's Day! Bonne St. Valentin!

Well, rather than send you all a candy heart or roses (which really isn't my style), I'm going to give you some design inspiration for Valentine's Day.  And the theme is "Red is Best" - one of my favourite kid's books, by the way, by Canadian author Kathy Stinson (thanks to my sister for introducing it to us).

Source: www.kathystinson.com

I'm currently in the process of de-cluttering my office space and have decided to get rid of my tear sheets (thousands of them, I assure you) by scanning them and saving electronically.   With so many online resources for cataloguing my inspiration, like Pinterest and Houzz to name a couple of my favourites (psst...follow me!), I have decided to go digital.  Well, mostly; there are still some versions of the print magazine I cannot live without.

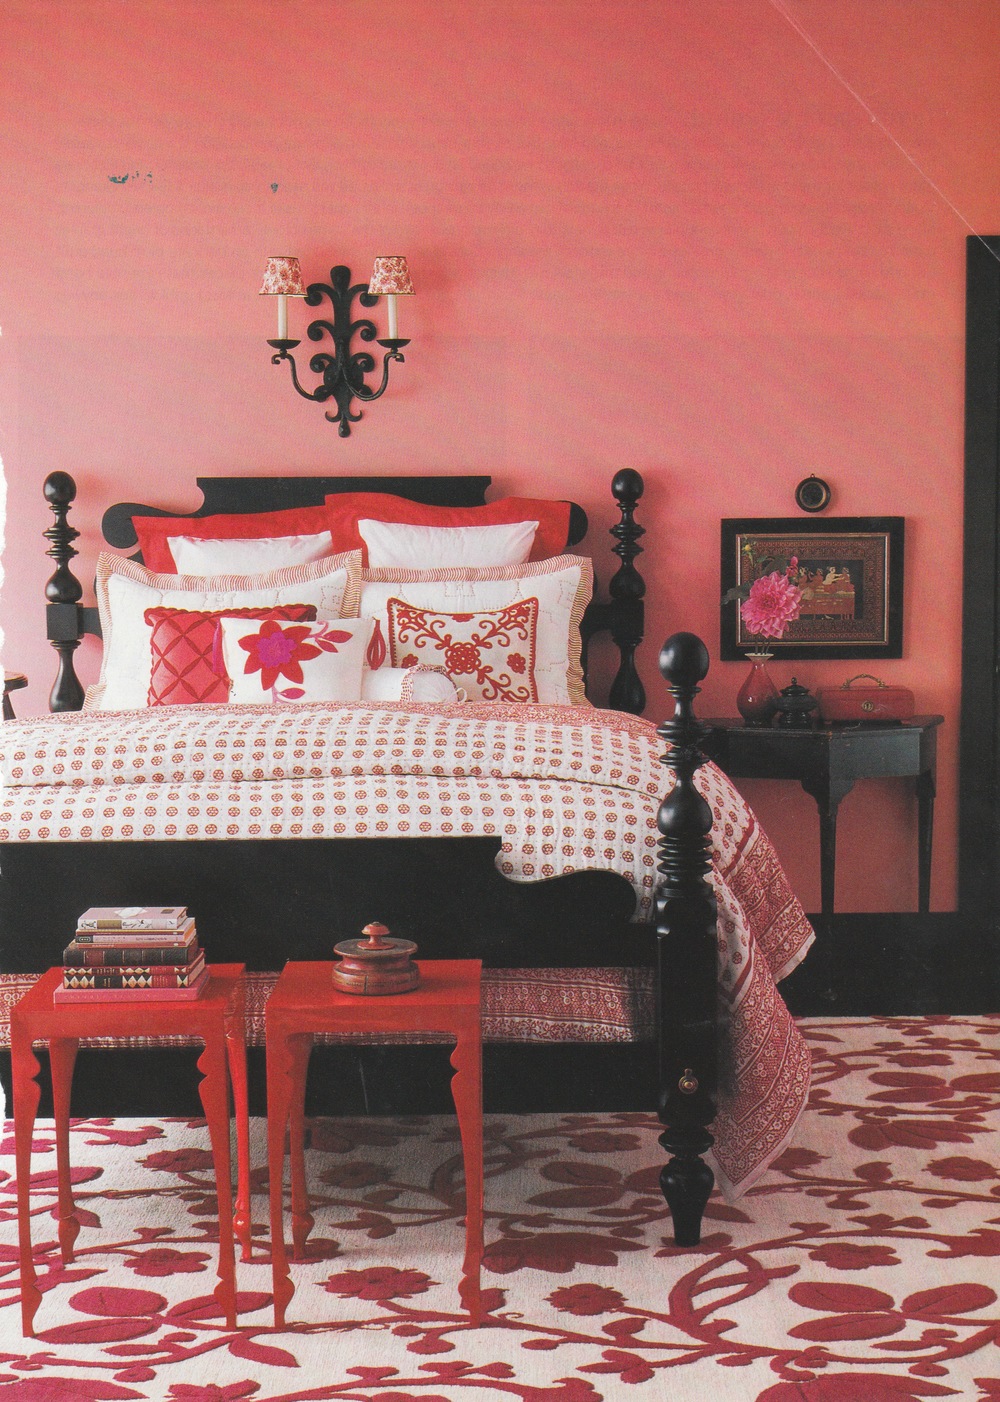
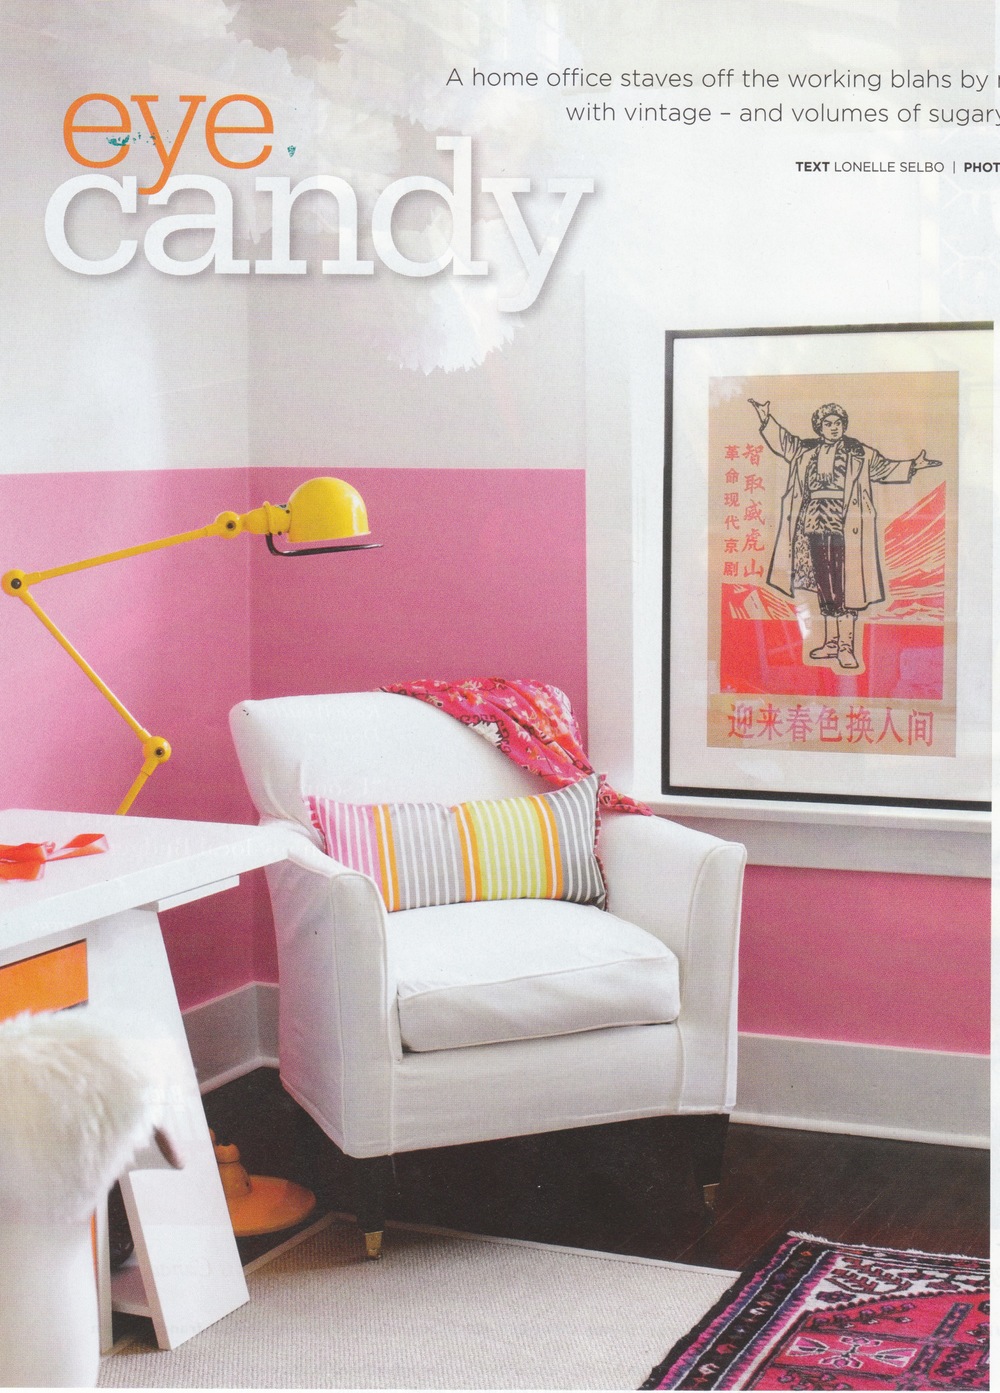
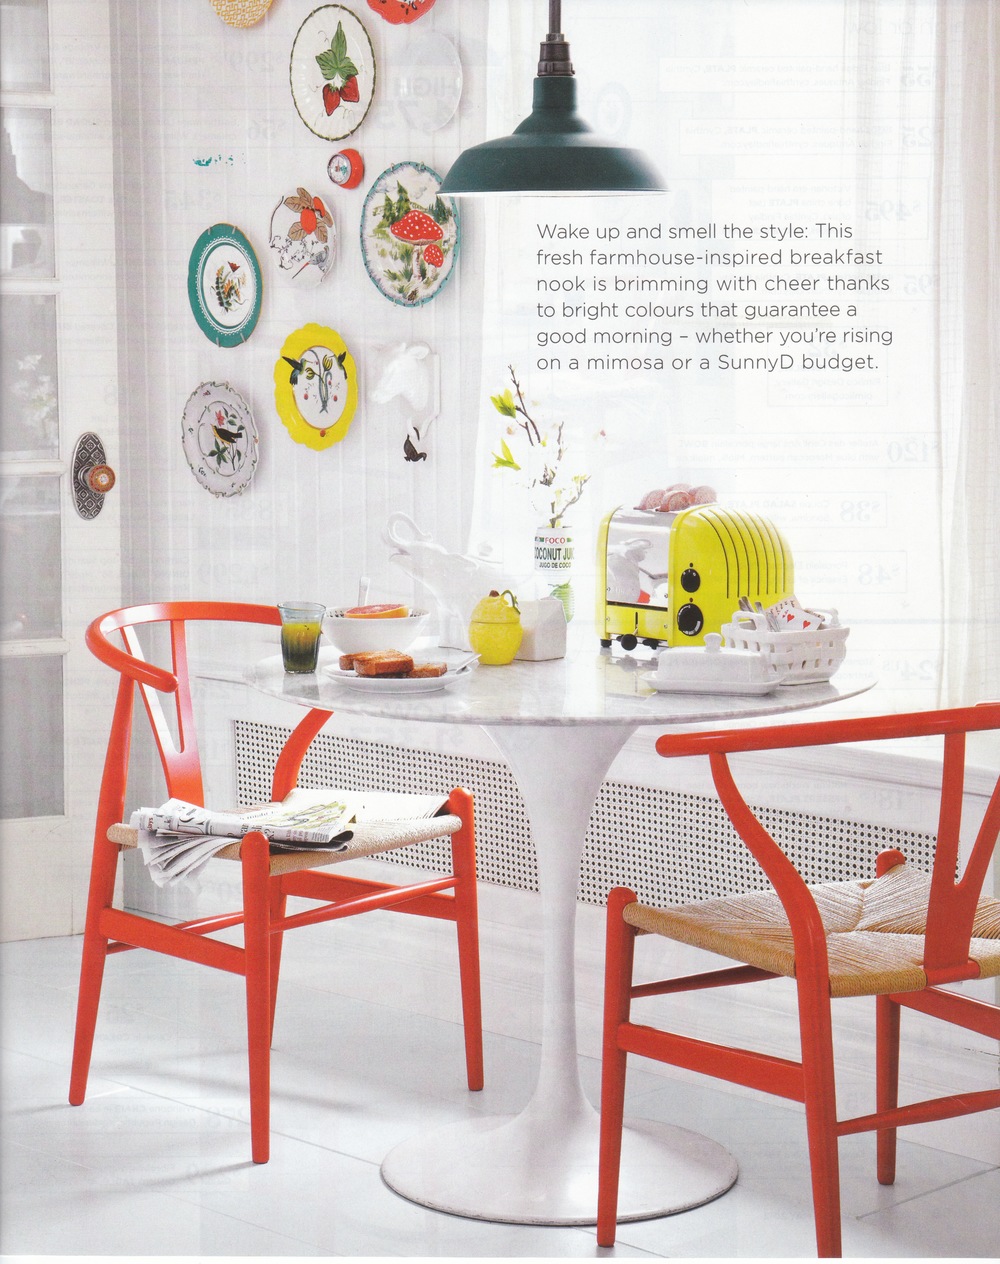
Anyway, I digress as usual.  In the process of going through my tear sheets I found a lot of red (which didn't surprise me) and it inspired me to share these images with you for some Valentine's Day inspiration.  Every room should have a little red, and these examples show how much life red can add to a room.   So, have a great Valentine's Day and remember "Red is Best".


Source: Blueprint Magazine


Source: Style at Home, May 2012


Source: Style at Home, May 2012


Source: House Beautiful, March 2011 


Source: House Beautiful, March 2011 


Source: Homes & Gardens, October 2010

So close, yet so far.

This is the part of a renovation that I love, but also hate.  It's almost finished and the basics are functioning, but, the little stuff takes the longest to do.   This finishing part is excruciating to me - I can see the final product, but the trim isn't finished, the plate covers have to go on, the wall needs patching, and so on.  It's the part with the least amount of impact, but most amount of work.  

It's where people start saying "we can live with that for awhile" and it never gets done - and running out of money starts to dictate the decisions.  This is definitely one downfall of the DIYer version of renovation.  It's also why were are leaving our hideous honey-coloured living room floors for another year.  Out of time, energy and money.  But, it's all about compromising without sacrificing your total vision entirely.  The floors can wait another year - I don't think they will mind.

But, here are the positive things.

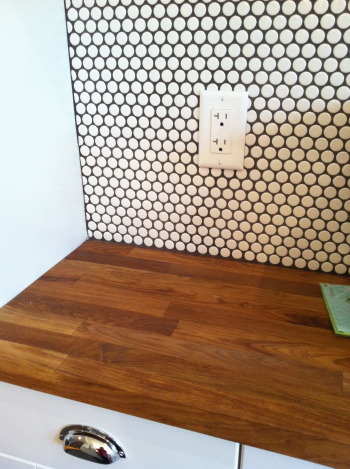
I have grey grout!


When it first went on, I panicked.  I thought I had really screwed up.  I usually experiment at my house, so clients don't do the suffering and was sure this was an experiment that failed.   It didn't help that everyone that looked at it said it screwed up their eyes and reminded them of that computer-generated artwork where you had to go cross-eyed to see the image!  However, with a little elbow grease I worked the grout back a little and am now thrilled with the result.  If you stare too long, things still go wonky, but that will stop once I have kitchen things in front of it, and then it will sing!

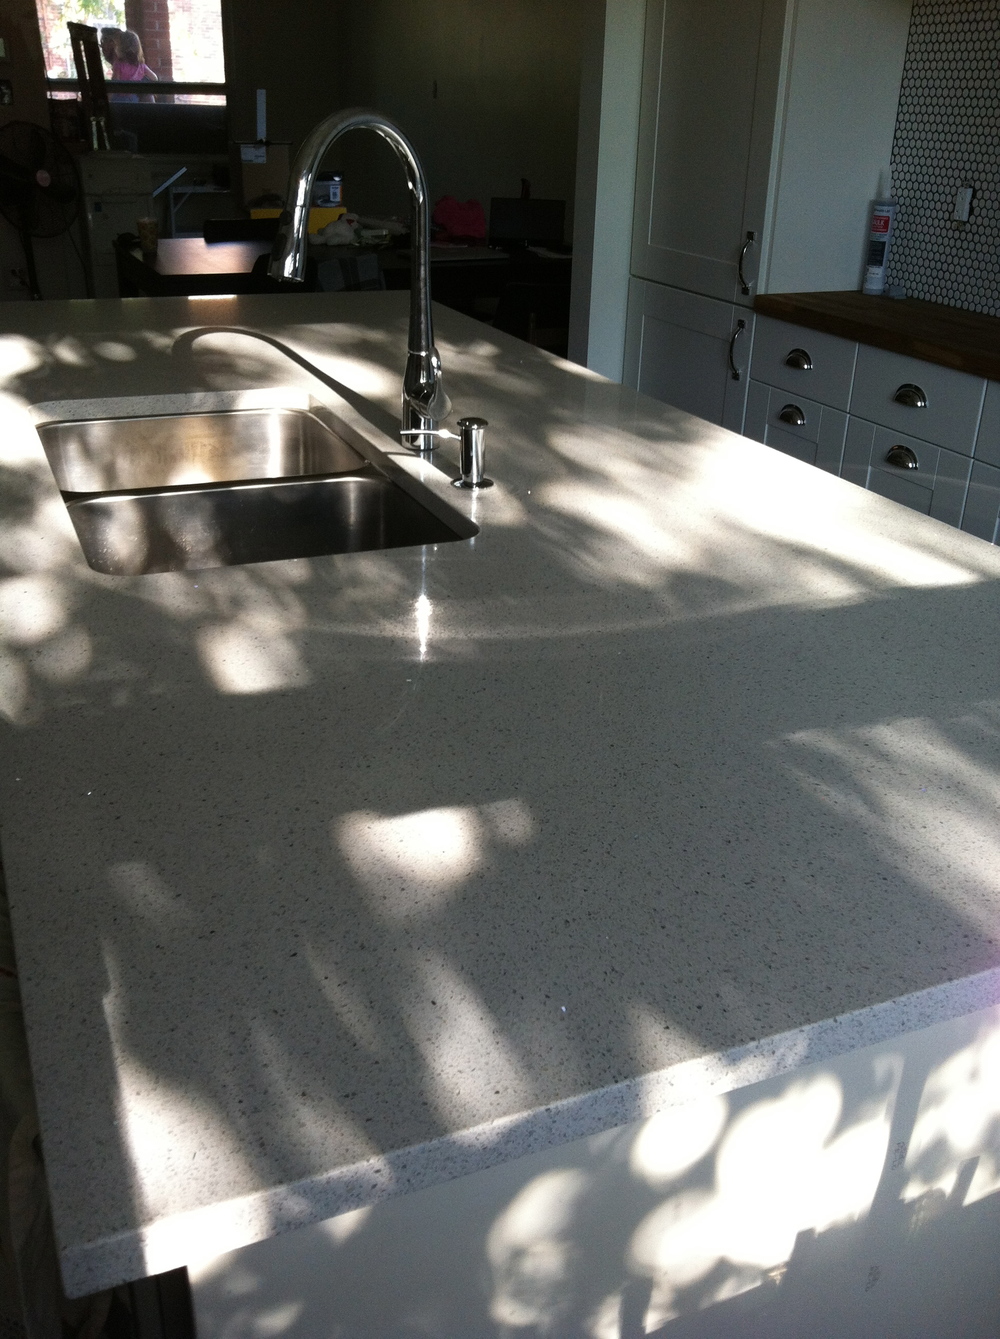
And my countertop is installed!  Look at it in all it's simple off-white-with-a-touch-of-sparkle glory (not to mention the amazing shadows at dinner time):

Thank you again John from Beyond Tile & Stone for this one!

And a special thank you to Kevin from TMK Mechanical for doing all of the plumbing!  You may have noticed my faucet and soap dispenser also installed.   I have water - the best news for days!

And my lights, my wonderful lights.  They are nothing you haven't seen, but, I love the impact of them all together over the island.   And Paul (my electrician) was wrong - they aren't too big for the island and I don't care what he says about it.  You definitely couldn't ask for a more honest electrcian at RK Electric.

But you were defintely right about my hall lights - I don't need the cork insert for waterproofing because I'm inside.  You can keep making fun of me for that.  Until you see how great it's all going to look pulled together.   

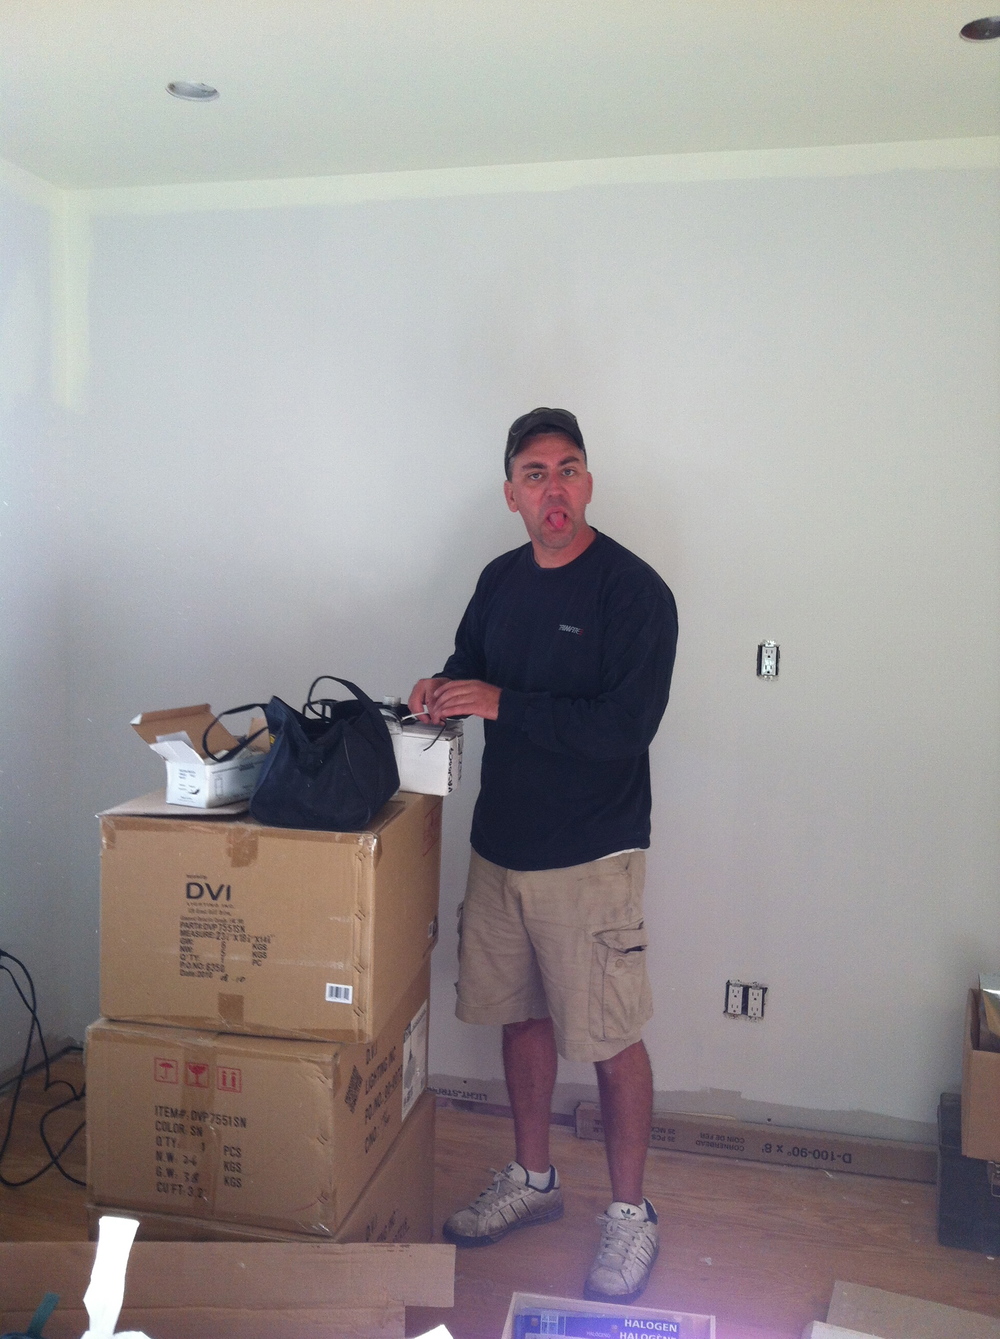
Here's Paul's response when I asked him how much longer he'd be working at my house (this is the polite version of the photo - the other one involved a middle finger!)

And my oven hood is up! But, the old stove is in (I guess it's not THAT bad...)

Well, I think that's it for now.  We are going to start pulling it together soon and I've started unpacking my stuff. I'm not going to show final photos until I have "propped" it all.   I thought: "Hey, I prop rooms for everyone else, why not do it for myself?" So that's what I'll do.  I'm pretty sure I won't start crying when I walk in for the final reveal though, but who knows?  I am known to cry easily (What? Some commercials are REALLY moving). Take care for now and next post, there will be some real beauty shots!

Tour the model cottage...

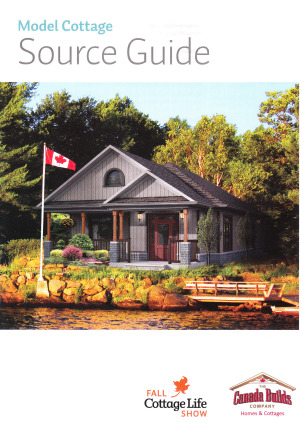
(Photo courtesy of Matt Filion, cottagelife.com)

Here is the tour of the model cottage at the Fall Cottage Life Show.  There are pictures of the interior to give you an idea of how I styled the cottage.   It was such a great experience and the whole Cottage Life crew were amazing to work with - so supportive and fun.

If you have seen anything you like in a picture, have a look at the previous post to find sources.  Most of what I used was from a variety of helpful and amazing vendors at the show.   Thanks to all of you that helped make it such a wonderful experience!

Fall Cottage Life Show - Sources and paint colours

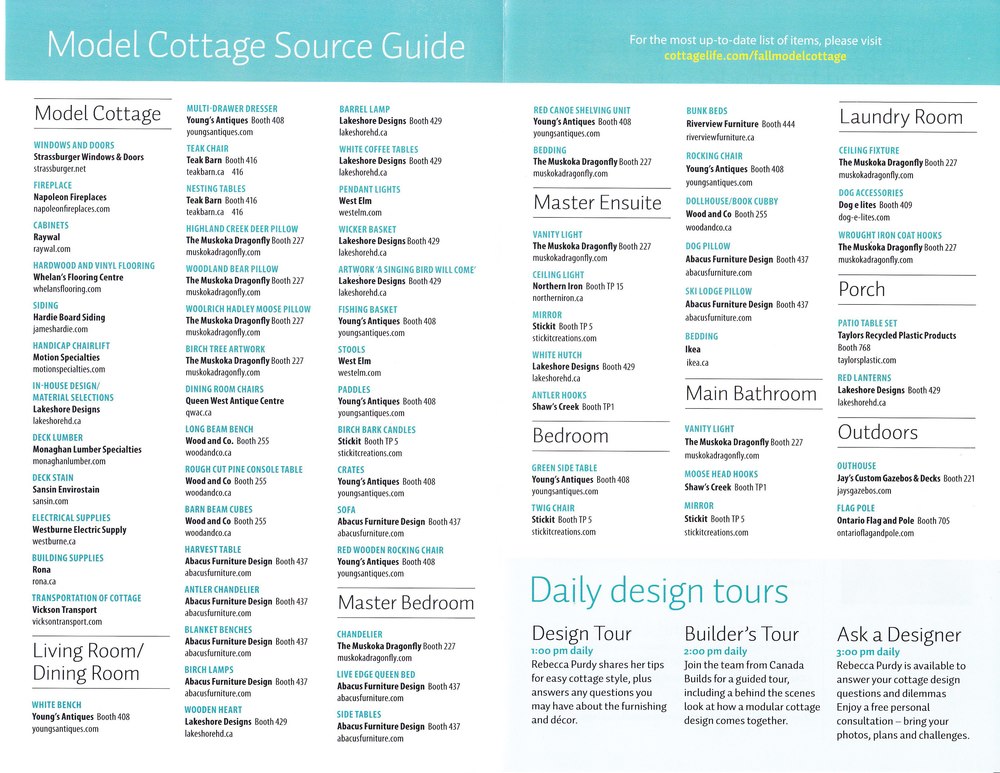
First of all, thanks to all of you that came out to the Fall Cottage Life Show!  It was a great success and there were line ups around the model cottage for a lot of the weekend.   I have to say, it was an amazing experience and so much fun to style the cottage.   It was so nice to get such such positive feedback from both the people visiting it, as well as the generous and helpful vendors that participated.  Please have a look at the source guide to see who participated.

 
Or, you can click here to go to the Cottage Life site to have a closer look.

Also, there was great interest in the paint colours I selected.  Therefore, I thought I would post a list and it is as follows:

Living Room/Dining Room/Kitchen:

Grey Owl: 2137-60

Children's Bedroom:

Pale Celery: 2150-60

Master Bedroom and Ensuite:

Grey Timber Wolf: 2126-50

Main Bathroom:

Summer Shower: 2135-60

Mudroom:

Grey Owl: 2137-60

All trim and ceilings:

Cloud White: OC-130

* All colours are the Benjamin Moore brand.

 Thanks for your interest and check back soon for more images of the model cottage!


The Fall Cottage Life Show

(Image courtesy of: cottagelife.com)

Well, it's official...I have the privilege of styling the first ever model cottage at the Fall Cottage Life Show this October 26-28th, 2012.  It's a first for the show, having a real full-size cottage, and I am thrilled to be a part of it.   And as you can see from the website, I will be doing cottage tours daily and answering design and decorating questions.

In addition, I will be acting as a guest blogger on the Cottage Life Blog leading up to the show.   I will provide links to the blog as we go, so check back to find out when I get to go on about one of my favourite things - "cottaging"!  

Things I don't seem to tire of...

Over the years, I have started many collections and am drawn repeatedly to the same things.   That's not to say I don't also like trends.  There is definitely a time and place for trends in most designed spaces.   But, there are always the things that are comforting and reliable and that I will always love in a space.  At least I have for the last  10 odd years.   I thought I would share a few of the things I never seem to tire of...

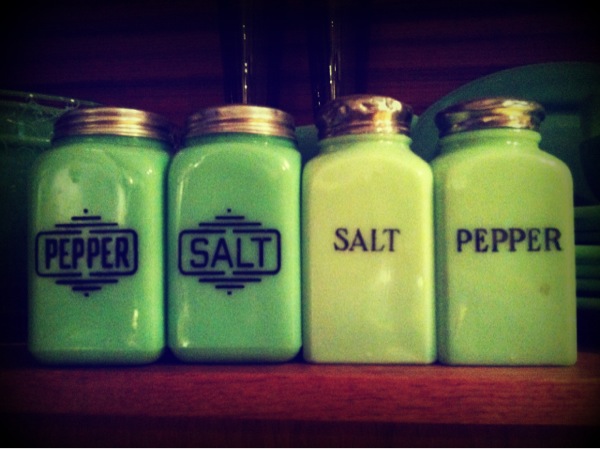
Jade-ite Dishes (Oh. and salt and pepper shakers too!)

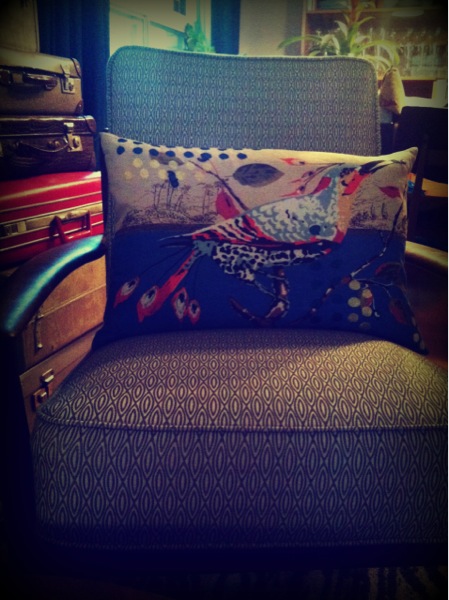
Mixing patterns - adds such a dynamic quality to a space.

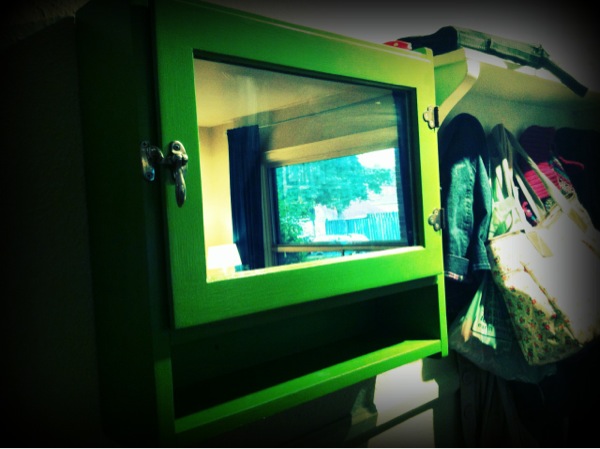
Small cabinets with doors and latches 

(and, in case you don't already know - GREEN)

Old Suitcases

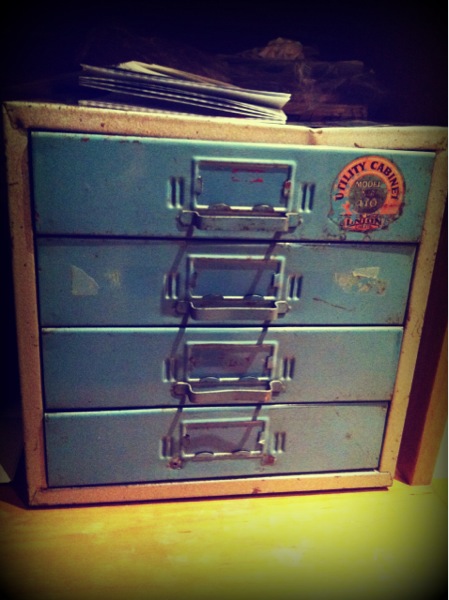
Drawers, especially metal ones

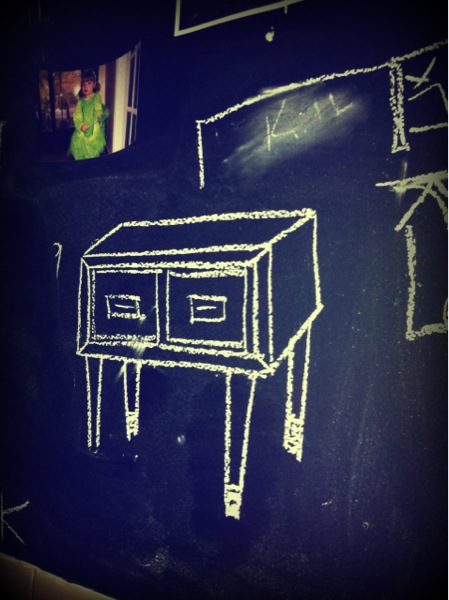
And chalkboard paint

Our wall in our kitchen is blackboard paint and we truly use it all the time.  Most of the time it looks a bit of a mess, but I think it still looks okay this way.   My husband and I use it for our brainstorming sessions about furniture design, kitchen layout (that's his chicken scratch way of writing "kitchen" by the way - it really doesn't say kill) and lists.  Those are the preliminary drawings for the side tables we collaborated on (see entry Build up to Built-ins).  

 Thanks for having a look...check back soon!

Dash of vintage...the perfect kitchen!

When I style a room for "Leave it to Bryan", this is my favourite part.  I also love picking the elements that make it a room like the tiles, cabinets, paint etc. but there is nothing like seeing it all come together for the reveal.   Each room is unique and fun to do, but, I especially love when I get to mix in some personal style and some of my own stuff.   We recently did a kitchen and I am still longing for it to be my own (yes, I'm waiting to do mine - it's hideous!).   You will have to wait to see the final kitchen when the shows start airing on HGTV Canada in the Fall, but I wanted to share some gems from the styling part. This photo is my own kitchen and that is a wall of blackboard paint.  I could do a whole entry on how much I love black board paint - maybe next time?

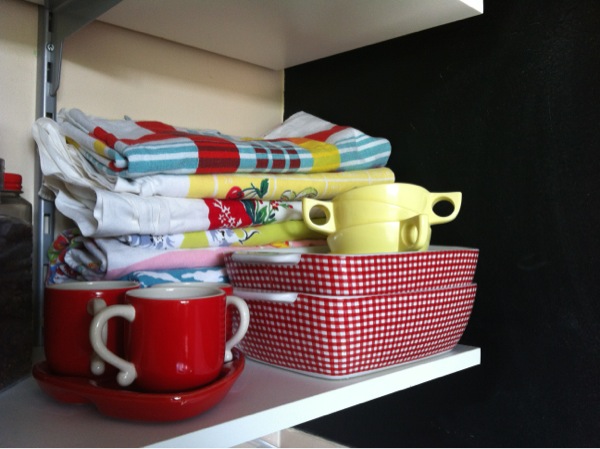
I found these adorable gingham loaf dishes at Homesense and they were my "jumping off point" - to use a little stylist lingo.   Obviously, I liked them so much I bought myself a couple!  Anyway, it was the perfect opportunity to use some of my vintage tablecloths that have been aching to be on television - I hope they don't get cut!  My Mom started me on this collection and it's a fun one.   Also, my Mother-in-law found this completely odd red and white tea set for three.  It's so unique - perfect for Christmas or Valentine's candies as part of a centre piece too.  

It's become even more fun to add my own stuff into reveals because my friend Missy tries to guess which things are my own personal stuff and which I purchased for the homeowner.   Don't worry...I never prop a whole room of my own stuff and then clear it all out so the homeowner is left with nothing.  That would be mean!  I just add an element or two...

So, keep posted to find out when you can see the whole kitchen on HGTV Canada - it was one of my favourites.   And feel free to write if you think you have guessed one of my own items correctly - I'll even tell you where I got it!  Or, watch last season's episodes and try to spot my knick knacks.